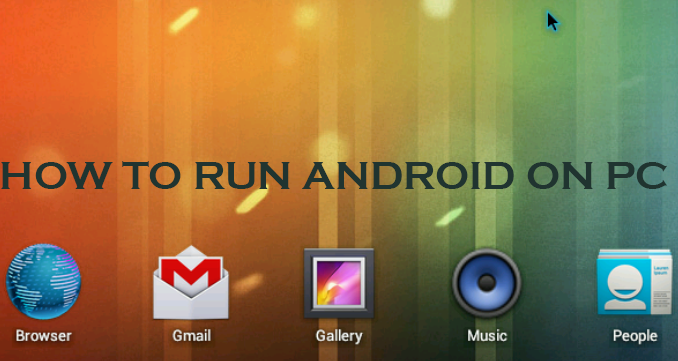
STEP 1: Download Virtualbox and install it (version
4.3.16 at the time of writing this): www.virtualbox.org/wiki/Downloads
(You can also use vmware software)
STEP 2: Download the latest Android-x86 4.4-r1 or
latest and download this file: android-x86-4.4-r1.iso (approx. 360 Mbytes) via http://tinyurl.com/n4ypn59
STEP 3: Launch
the Virtualbox software and click the “New” button on the toolbar and on the
screens that appear, fill out this information, pressing next between these
screens:
NAME: Android-x86 (or
choose any name for yourself as a reference)
TYPE: Linux
VERSION: Linux 2.6/3.x
MEMORY: 1024MB (use
the slider, or type 1024 in the box)
HARD DRIVE (DEFAULT):
“create a virtual hard drive now”
HARD DRIVE FILE TYPE (DEFAULT): VDI (VirtualBox Disk Image)
STORAGE ON PHYSICAL HARD
DRIVE (DEFAULT): Dynamically
allocated
FILE LOCATION AND SIZE:
Leave the filename as it appears, but increase to 16GB; however I have
seen reports of people getting away with 8GB and also as low as 4GB. If you can spare 16GB on your PC, choose
that.
Now you’re ready to press the “Create” button. This will configure a brand new “virtual
computer” with exactly the specifications you have just provided, such as 1GB
of RAM and 16GB hard drive
STEP 4: Press the “Settings” icon on the toolbar and
in the settings window that appears select “Storage” in the left hand pane,
then click on the word “Empty” in the Storage Tree section. Now click on the
small disc icon to the right of “IDE Secondary Master” and click “Choose a
virtual CD/DVD disk file…” and now find the Android-x86-4.4-r1.iso file you
downloaded earlier. Press OK to save the settings and return to the main
Virtualbox window. Now it’s time to start your virtual machine and install the
Android operating system software.
Press the green
arrow icon on the toolbar in Virtualbox to start. Now that your new virtual
machine is up and running it should “boot” from the ISO image we connected in
the previous step and you’ll see a screen like this:
STEP5: Select “Installation – Install Android-x86 to
harddisk” after which there are a number of steps you’ll need to follow carefully
all documented here: www.android-x86.org/documents/installhowto
FINISHING TOUCHES:
Since Android was designed for touchscreen devices, and your
PC has a mouse
instead we just need to tell Virtualbox to draw a mouse
pointer on the screen so you know where you are! At the bottom-right of the
virtual Android device window are some settings – you’ll need to find “Disable
Mouse Integration” and turn it on for the best experience possible. The default
screen resolution that your virtual Android tablet will use resembles that of a
tablet device, but if you want to simulate a smartphone instead you’ll need to
tweak a hidden Virtualbox configuration setting for this. I would only
recommend this for advanced users comfortable with editing a configuration file
using a text editor. (Advanced Users Only) Follow the instructions provided
here:
The native screen resolution for an Android Nexus 4
smartphone is 768 x 1280 but I’ve found this doesn’t fit nicely on a PC screen,
try 576 x 960 instead.


0 comments:
Post a Comment